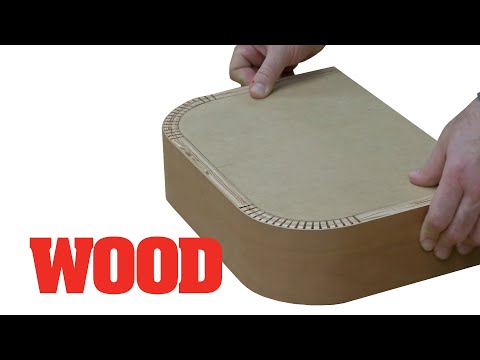

A successful test piece is much more useful when you can repeat it. Use this notebook page alongside your kerfing videos to record what you tried, what happened and what you want to change. It is an original planning worksheet for Riches Projects, not a tested construction plan.
1. Write the goal before choosing settings
Name the part you want to make: for example, a decorative curved front or a small practice panel. Sketch its position in the finished project. Mark the visible face and label every dimension with its unit. Add a short sentence describing what a successful sample should look like.
Keep unanswered questions visible. If you have not chosen the material, curve or support, write “not decided” instead of filling the space with a guess.
2. Give each sample an identity
Label samples A, B and C. In your notebook, record the date, material source, measured thickness and the tool setup you used. Note the cut spacing and the remaining material beneath the cuts. Take a photograph beside the label after the saw is stopped and the sample is safely removed.
| Sample | One change tested | Result | Next decision |
|---|---|---|---|
| A | Starting setup | Record observations | Keep or revise |
| B | Describe one adjustment | Compare with A | Keep or revise |
| C | Repeat the preferred setup | Was it repeatable? | Ready for planning? |
3. Describe the result plainly
Use observations such as “gap at the middle of the form,” “visible ridges in the curve,” or “outer face cracked near one end.” These notes are more useful than simply writing “bad.” Do not carry a failed sample forward as if it passed. Record what you will investigate before making another.
4. Make a separate assembly checklist
Before working on the final part, list the form or frame, permanent support, clamps, adhesive instructions, edge treatment and finish. Add any manufacturer guidance you need to review. Keep the material purchase list separate from the cutting notes so you can revise one without losing the other.
5. Save the reference that helped
Record the tutorial title and a timestamp beside each observation you want to revisit. Keep the best physical sample and a photo of its label. Next time, begin by comparing the new material with that sample rather than assuming the old settings will transfer unchanged.
Read Kerfing Basics · Watch the coat-rack project · Watch the WOOD magazine tutorial