

Kerfing can turn a flat board into a curved panel by removing material from one face. The remaining outer layer bends while the grooves on the inside accommodate the curve. This guide is a starting point for planning a decorative panel, followed by a test piece before committing good material.
Start with the finished shape
Draw the curve at full size on paper or scrap sheet material. Decide which face will be visible, where the curve begins and ends, and how the panel will attach to the rest of the project. A sketch can reveal an exposed edge or awkward fastening point before you cut anything.
Choose the material and a support method
Plywood and solid wood respond differently. Grain, veneer construction and the thickness left beneath each groove all affect the result. A kerfed panel needs help holding its shape: plan a backing, frame or other supporting assembly as part of the design. Do not assume it retains the strength of an uncut board.
Test the setup
Use scrap from the same material. Start with a small trial section and compare it with your drawing or form. Change one variable at a time, then label the sample so you know which setup produced it. There is no single cut depth or spacing that works for every board and radius.
Closer cuts can permit a tighter curve, but removing more wood also weakens the part. Look for a smooth outer face, intact veneer and a bend that reaches the form without being forced. Stop when a test cracks; identify the cause before trying another piece.
Turn the successful sample into a project plan
Record the material, measured thickness, blade, remaining layer, spacing and intended curve. Add a separate note describing the permanent support and the adhesive or fasteners specified for that assembly. Keep the successful sample with the drawing; it makes a useful reference when you return to the project.
Follow your saw manufacturer’s instructions for non-through cuts, work support and protective equipment. Disconnect power before adjustments. A tutorial is not a substitute for a safe setup suited to your machine.
Watch and read next
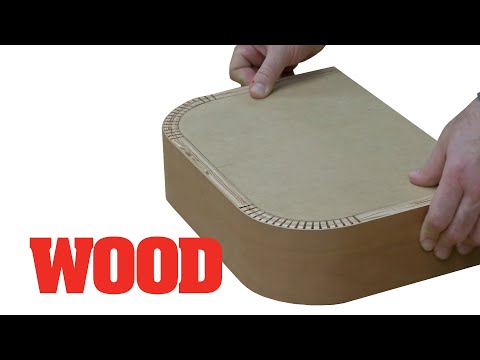
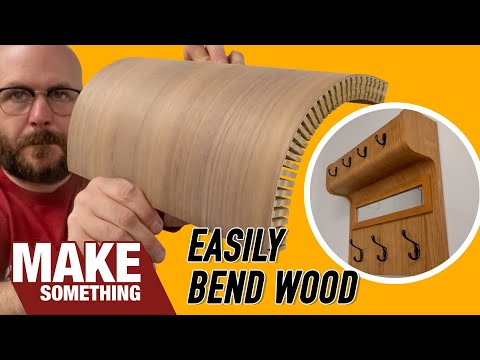
Start with the full WOOD magazine demonstration, then compare the Make Something coat-rack project.
Further reading: The Secrets of Kerf Bending — Rob Petrie, Woodsmith. This is an original Woodworking.Monster guide, not a reproduction of the linked article.

1 comment on “Kerfing Basics: Plan a Curved Wood Panel”